Note: I'm told that these tips etc., don't work on Macs. Raul Crimson has had some success though and if I find out any more I'll let you know!
I'm hardly an expert Sl photographer - I think of myself as a determined amateur, but I've been experimenting with shadows lately and thought I'd share a few of the things I've learned.
The first thing I encourage you to remember, because I always forget, is to check all your settings when you change viewers. I'm using the new V2.3 Beta today and obviously forgot a few of them (like high rez snapshots).
I love experimenting with shadows in V2 and the new Beta seems to perform well. I don't have a high end gaming computer - I mean she's not bad, but until recently I couldn't make shadows work at all so the new V2 is a lot of fun to play with.
The first lesson I learned when I was using shadows at Burn2 is to disable anti-aliasing. The difference is huge - whereas before I could barely operate when shadows were turned on, I can now actually walk around with them enabled without crashing (not a real high fps mind you, but at least it doesn't freeze on me).
To turn on shadows in V2:

If you're doing a portrait it will be much easier to set up the shot if you use poses (and I rely on Gesticulate for mine). You'll be playing with settings and, if you don't have to keep adjusting your subject as well, your life will be much easier.
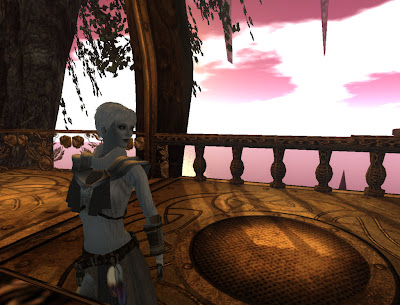
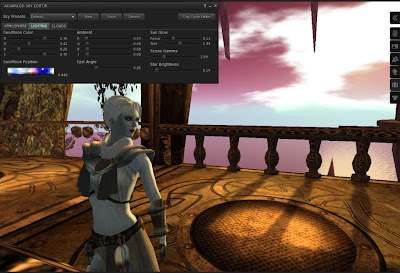
Now you've set up your model and have your shadows turned on - go into your windlight settings and get the light that you want. Then to adjust the shadows use the East Angle slider to move the sun around until you get the effect you want.

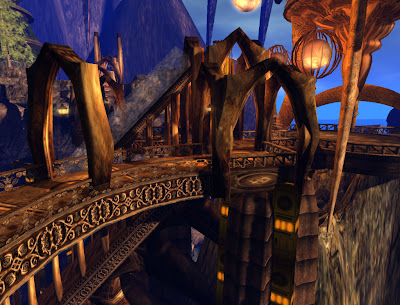
The only change I made in the first two photos was to move the angle of the sun. It's a lot of fun to do (then experiment with all the other settings if you've never tried them).
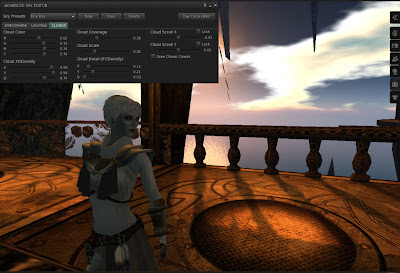
Another tip, and I got this one from Torley - go to the Clouds tab in the Advanced Sky Editor and unclick Draw Classic Clouds. This will help performance as well and I don't think you'll miss them.

I learned a couple of more things at Burn2 which may or may not help you:
- Adjusting your draw distance not only changes your background but also the shape of shadows in a landscape. If it's a performance issue try extending your view distance once the rest of the settings are where you want them - then adjust back down if necessary. This also helps if you're getting partially rezzed sculpties (like the ones above) appearing in your shot. :)
- Totally unrelated to photos - if you go to Develop/UI you can choose Double Click Teleport. Then double click on land you can see and you'll teleport there. This is really handy in high lag situations!

2 comments:
Thank you Honour. Now...when is your tutorial on using V2 or higher? I'd like to sign up for that one. ;-)
LOL I just click on things and see what happens :)
Post a Comment